How to Read Friendship Bracelet Patterns?
Making a friendship bracelet is like creating a tapestry of memories and emotions, a physical representation of ties that go beyond the ordinary. For many, the intricate patterns and brilliant threads represent connections that are both complex and colorful. However, learning how to read friendship bracelet patterns can be similar to deciphering an old script. Have no fear! We’re about to take a voyage through the twists and turns of friendship bracelet designs, and at the end of this guide, you’ll be able to read fluently. Are you ready to conjure some magic?
Elements of a Friendship Bracelet Pattern
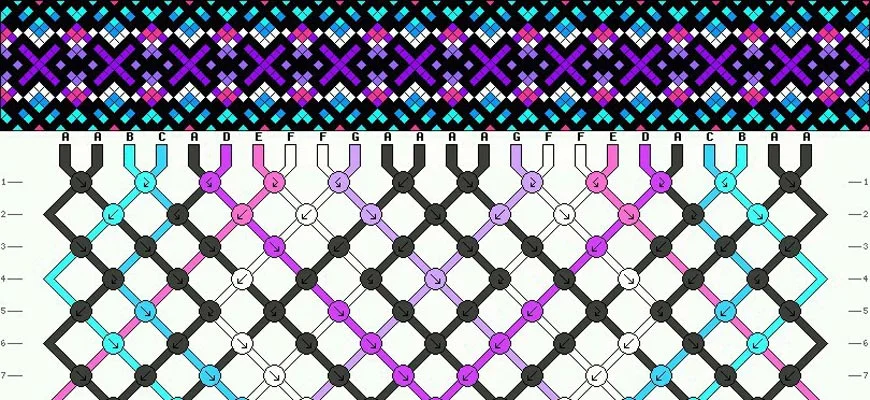
Every friendship bracelet pattern is a roadmap made up of several elements that will help you through the construction process. Before plunging deep into the ocean of patterns, let’s get acquainted with the fundamental parts that comprise the DNA of any friendship bracelet pattern:
- A visualization of the pattern at the top.
- Letters that relate to the string colors listed below
- Dashed lines on the sides, with numbers next to them, represent the rows within the pattern.
- Bubbles with arrows that show the orientation of each knot
- Bent edges without bubbles suggest skipping those strands when knotting a row.
Types of Friendship Bracelet Patterns
Just as friendship takes various forms, so do friendship bracelet patterns. Each style presents a distinct challenge and an opportunity to flex your knotting muscles:
- Ladder Stitch Friendship Bracelet Pattern.
- Braided Friendship Bracelet Pattern.
- Diagonal Friendship Bracelet Pattern.
- Chevron Friendship Bracelet Pattern.
- Diamond Friendship Bracelet Pattern.
- Recycled T-Shirt Friendship Bracelet Pattern.
- Button Friendship Bracelet Pattern.
- Heart Friendship Bracelet Pattern.
- Striped Friendship Bracelet Pattern.
- Candy Stripe Friendship Bracelet Pattern.
- Alpha Friendship Bracelet Pattern.
- Wave Friendship Bracelet Pattern.
- Neon Friendship Bracelet Pattern.
- Beaded Friendship Bracelet Pattern.
The Four Basic Friendship Bracelet Knots
At the heart of every pattern are the knots. Here are the brushstrokes in your masterpiece:
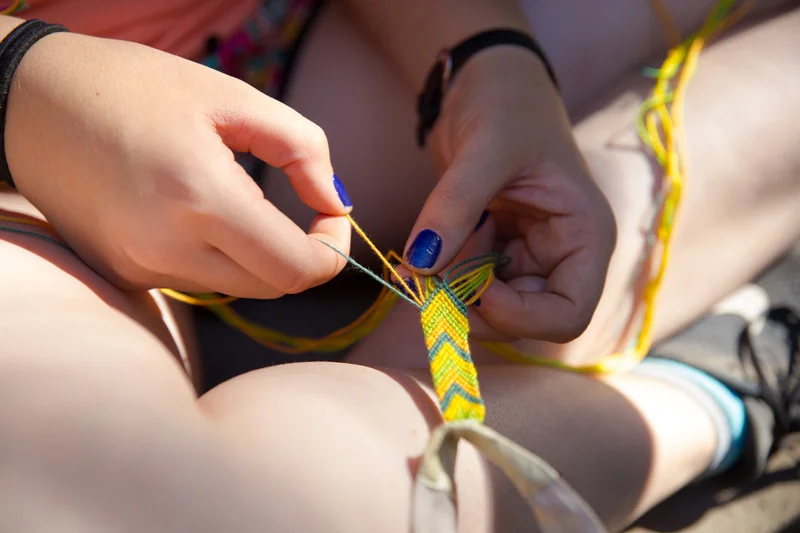
- Forward Knot: Forward knots allow your knots to go from left to right in a forward orientation.
- Backward Knot: Backward knots allow your knots to travel from right to left in the other way.
- Forwards-Backwards Knot: To tie this knot, tie a forwards knot first.
- Backwards-Forwards Knot: First a backwards knot, then a forwards knot.
How to Make a Friendship Bracelet Pattern?
Now that you’re familiar with the elements and knots, it’s time to unveil the secrets of reading friendship bracelet patterns like a pro!
- Cut approximately 36″ of embroidery floss for each strand. To generate two strands of the same color, cut 72″ of thread and fold in half.
- Tie all of the strands together with a basic overhand knot. Leave around a 3-4 inch tail.
- Secure the bracelet’s tail to a tabletop with masking tape, then clip it to a clipboard. You can also use a safety pin to keep the knot on your jeans.
- Put the strings in the correct order using the letters at the top of the pattern’s color scheme.
- Make the knots shown by the circled arrows, one row at a time.
- Move on to Row 2. You will not use the outer two strands because this is an even-numbered row.
- Continue along each row, using the pattern chart as many times as needed.
- When the bracelet is the length you want, bind all of the strings together with another overhand knot. Leave a longer tail so that you may tie the bracelet around your wrist (via Sarah Stearns).
How to Read a Friendship Bracelet Pattern?
The Preview Image
Begin by viewing the preview image, which shows you a visual representation of the finished project. On top of the chart, the preview image shows how the bracelet will look when completed. The preview graphic indicates the best color combinations and the order in which they should be used. You can change the colors as you like.
Strings
Next, check the string section to determine how many strings you’ll need and what colors to use. Just below the preview image, you can see the quantity of strings that have text labels. A particular letter serves as the string’s unique identifier. However, if there are two strings of the same hue, they will be labeled with the same letter.
Rows
Friendship bracelet patterns go row by row, with each row showing the knot tying sequence. Start reading at the top and go down row by row.
Focus on just completing one row at a time. The letters tell you which color floss to use. Arrows show the strand order and direction for each knot.
After you finish a row, go back to the left and start the next row down. Keep following the chart row by row until you complete the bracelet length.
Knot Signs
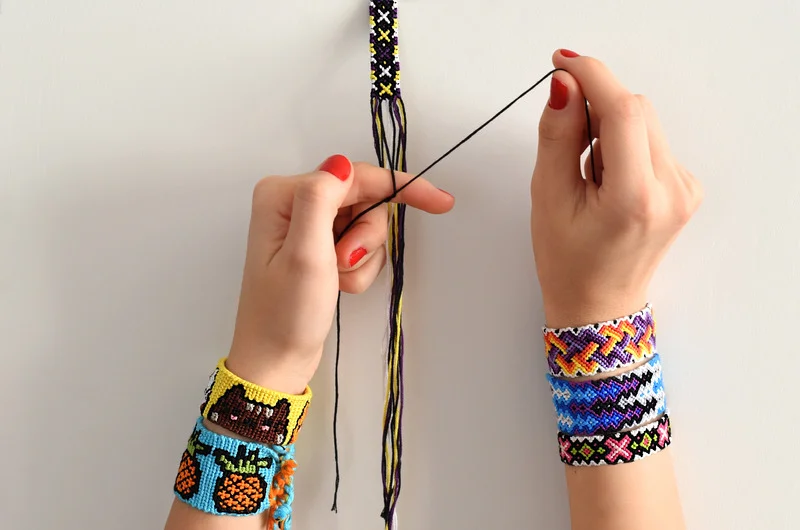
Pay special attention to the knot indicators; they are the key to understanding the pattern. Arrows, numerals, and characters are common symbols that symbolize specific knots or actions. The circles with arrow markings represent knots. Arrows show the direction or type of knot.
Please be aware that there are bracelets with odd and even numbers of strings. Each even number row has knots for bracelets with even numbers of strings. However, there are frequently fewer knots in odd number rows.
Decoding the Symbols
Here’s a key for deciphering what the different symbols, letters, and arrows mean in a friendship bracelet diagram:
- Letters (A, B, C) – Each letter represents a different floss color.
- Arrows – Show which way to tie each knot and the strand order.
- Double Arrows: Indicate to knot using 2 strands instead of 3.
- Triangles: Point where to add new strands to the braid.
- Shapes – Show special knots like beads or buttons.
- Numbers – Tell how many knots or rows to make with a color.
Troubleshooting Tricks
Here are some handy tips for avoiding mistakes with bracelet patterns:
- Use lettered tape or safety pins to label floss colors.
- Mark your place in the pattern as you go with a highlight or arrow.
- If confused, set down your work and re-check the pattern diagram.
- Count knots out loud to be sure you’re on track.
- Keep floss untangled and rows straight as you work.
- Ask a friend to double-check that your work looks right.
Expanding Your Skills
Once you get comfortable following basic lettered diagrams, try out more advanced bracelet patterns:
- Graphs: Use numbers instead of letters to indicate floss colors.
- Written Instructions: Follow text directions for knot sequences.
- Key Charts: Refer to a color key for symbol meanings.
- Multiple Strands: Add more strands for wider bracelets.
- Bordered Edges: Frame bracelet sides with a color.
Don’t be intimidated to pick more complex patterns! Just take it slow, double-check your work, and build on the basics.
Have Fun and Get Creative!
Now that you know how to read friendship bracelet patterns, unleash your creativity! Hunt for cool free patterns online or design your own. Make matching sets as gifts for friends. Mix and match floss colors for unique combos. The options are endless for these knotty DIY projects.
Following bracelet diagrams gets easier with practice. Before you know it, you’ll be able to whip up beautiful braided bracelets just by glancing at a chart. So grab your floss and get knotting away!
FAQs
The vertical lines labeled with letters at the top of the pattern represent your strings, and the numbers on either side of the pattern indicate rows of knots. Move from left to right when reading a friendship bracelet pattern. Work with 2 strings at a time, as friendship bracelet patterns use pairs to create knots.
Letters which correspond to string colors below. Dashed lines on the sides with numbers next to them – these indicate the rows within the pattern. Bubbles with arrows which indicate the direction of each knot. Bent edges without bubbles to indicate skipping those strands when knotting a row.
The vertical lines labeled with letters at the top of the pattern represent your strings, and the numbers on either side of the pattern indicate rows of knots. Move from left to right when reading a friendship bracelet pattern. Work with 2 strings at a time, as friendship bracelet patterns use pairs to create knots.
A visual of the pattern at the top.
Letters which correspond to string colors below.
Dashed lines on the sides with numbers next to them – these indicate the rows within the pattern.
Bubbles with arrows which indicate the direction of each knot.
Bubbles with arrows which indicate the direction of each knot.
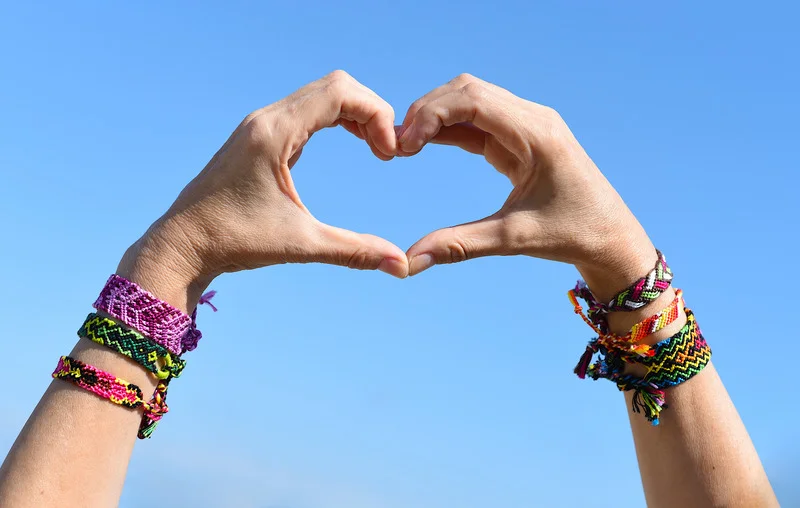
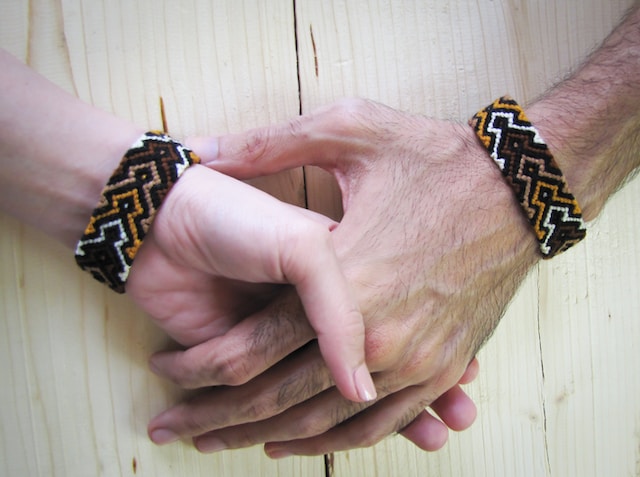
Friendship bracelets can have many meanings and symbolic uses, such as friendship, folk art, or social statements.
Sources:
- How to Read Friendship Bracelet Patterns
- How to Read Friendship Bracelet Patterns
- A Beginner’s Guide to Reading Friendship Bracelet Patterns
- Lesson: How to Read Friendship Bracelet Patterns
- How to Read Friendship Bracelet Patterns
- How to Read Friendship Bracelet Patterns
- How to Read a Friendship Bracelet Pattern
- (( How to… )) Read Normal Patterns
- How To Read Friendship Bracelet Patterns?
- How to read normal patterns
- Learning How To Read Friendship Bracelet Patterns
- 19 Easy Friendship Bracelet Patterns for Beginners
- How to Make String & Beaded Friendship Bracelets
- How To Make Friendship Bracelets (15+ Step-by-Step Guide)
Learn More About Jewelry Patterns:
- Wooden Bead Necklaces for Men
- Triple Threat: Understanding the Triple Protection Bracelet
- Fringe Forward: Exploring the Trend of Fringe Earrings
- The Appeal of Anklets for Men
- A Jewelry Lover’s Guide: Chain vs Necklace
- What is a Box Chain?
- Lucky Charm Necklaces: Style and Supernatural Luck
- Unique Macrame Bracelets for Your Wrist
- The Ultimate Guide to Beaded Lariat Necklace
- The Surfer Necklace Beads: A Surfing Tradition
- MCML In Roman Numerals – Convert 1950 To Roman Numerals
- The Egyptian Tree of Life: A Symbol of Eternal Growth and Wisdom
- Key to My Heart Necklace: A Gift of Love
