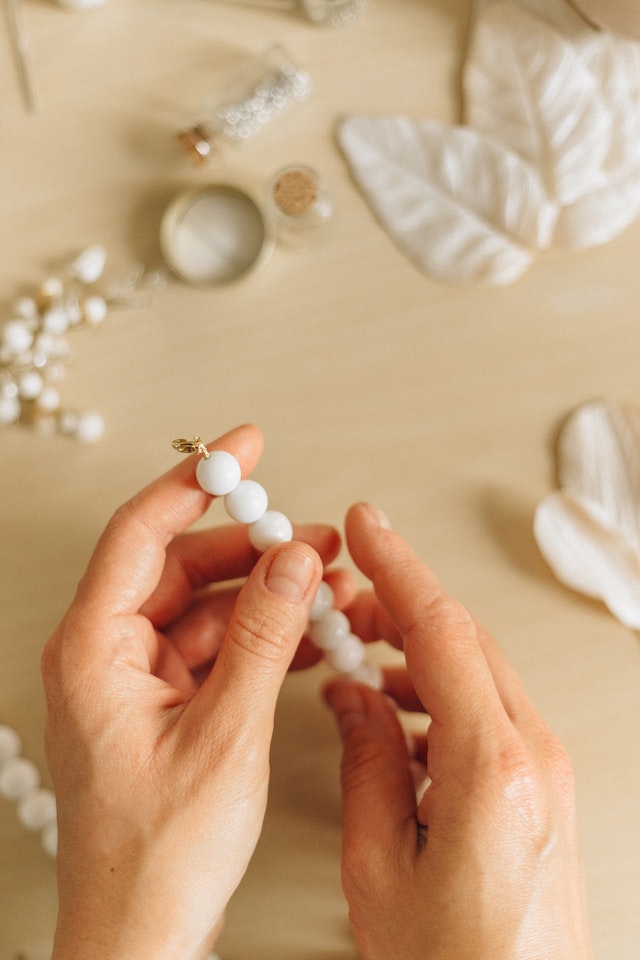
A Step-by-Step Guide to Tying Off Your Beaded Bracelet
You’ve threaded the last bead onto your newly crafted beaded bracelet and are ready to tie it off. But how exactly do you finish and secure your bracelet design? Tying off a beaded bracelet properly ensures it is closed tightly and won’t come loose or fall apart when worn. Follow this step-by-step tutorial to learn a few easy techniques for tying off your bead bracelets.

Gather These Supplies
Before starting the tying off process, gather these supplies:
- Bracelet strung on cord
- Scissors to trim cord
- Jump rings or crimp tubes (optional)
- Clasp for closure
- Flat or chain nose pliers
Make sure your bracelet is strung, laid out how you want, and ready to be finished.
Method 1: Simple Knotting
For basic bead bracelets, a simple double knot will often suffice for tying off.
- Leave about a 6 inch tail of cord on each bracelet end
- Make a double knot close to the bracelet’s end on each side
- Trim excess cord close to knots
- Dab knots with glue for added security (optional)
This basic knotting technique keeps most single strand bead bracelets securely tied off.
Method 2: Wrapped Knotting
For a more polished finish, wrap the cord around itself:
- Make a knot close to the end as in method 1
- With pliers, grip tail end about an inch down from the knot
- Wrap cord tightly around knot 3-5 times until covered
- Trim excess cord
- Add glue over wraps if desired
Wrapping locks the knots for a clean look and extra hold.
Method 3: Crimping
For security on slippery cords, crimp the ends:
- Thread cord through crimp tube and make an overhand knot
- Use pliers to squeeze crimp tube tight on cord above knot
- Trim excess cord close to crimp tube
- Repeat on other end
The metal crimp tube keeps the knot firmly in place.
Attaching Clasps and Jump Rings
Finish by attaching clasps or jump rings:
- Use pliers to open jump ring and attach clasp finding
- Or connect pre-attached clasp to end loops
- Arrange bracelet ends neatly side-by-side
- Press jump ring or clasp together to close
Proper closure hardware keeps your bracelet securely on your wrist.
Now that you know how to tie off your bead bracelet creations, you can complete all kinds of gorgeous jewelry! Experiment with different cord and bead combinations. Show off your unique finished bracelets for all to admire.

Conclusion
Whether you use simple knots, wrapped cords or crimp tubes, proper tying off is key to creating durability for your handmade beaded bracelets. A secure knot or crimp keeps beads in place and prevents loss. Take the extra time when finishing your jewelry designs to tie off the ends neatly and tightly. With the right techniques, your special bracelet will stay beautiful for many years to come!
FAQs about How to Tie a Bead Bracelet
Tie one knot to secure the beads in place. Tie this knot as close to the end of the beading as possible to keep the beads from sliding around on the string and revealing the cord beneath. To position the knot as snugly as possible, form the knot loosely, then slide it into place as you tighten it.
To finish your necklace; thread a crimp on after your last bead and simply feed your thread or wire through the protector. Slip your clasp, necklet-end or jump ring over the protector and the thread together, pass the thread back down through your crimp and fasten as you would normally.
